Horn Bow Tutorial
Difficulty: medium
Supplies Needed:
1) wood handle or stick
2) horns
3) some string
4) glue
5) epoxy (not necessary, but helpful)
6) Great Stuff (not necessary but helpful)
Tools:
1) band saw (or hand saw)
2) shaver or sand paper
3) rat tail file
4) bench vise (makes job much easier)
I began by choosing a nice solid weathered stick which felt good in my hand and was over 2 feet long. Picking out the right horns was the next crucial step. I searched eBay for horns because they're not very common to find in second-hand shops in Michigan. I purchased my selected pair and they were a great physical fit with my chosen stick.


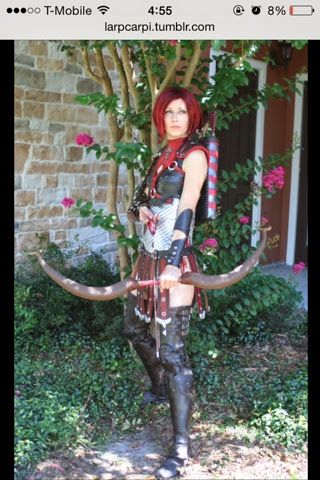
If it's not obvious, this bow is not intended to be functional; not even for LARPing (which I suppose also means functional), but more decorative as I dress up as a ranger for our local Renaissance Festival.

Next, I used the wood glue and spread it along the stick in a few contact points. There were not many since both the stick and horn are curved. (This step is more like tacking.)


After the epoxy had set, I filled in the hole with Great Stuff. Since this product must be used up immediately once opened, I first walked around the house and noted where I could spray the left-overs so I wouldn't waste the can.
 |
| Notice the size of the gap I am going to fill; it's quite large! |
 |
| A visual looking into the horn. |
 |
| Old school water putty for filling in holes. |
Whoa!! Low and behold, I hated this stuff! It took over 24 hours to dry and the product to water ratio was waaaay off! It cracked and large chunks fell off of all edges. It was a disaster. (Does it go bad??) Maybe it's good for filling nail holes! I had to cover the entire surface area where I used the putty. I used a rabbit fur collar from a second-hand coat. It turned out beautifully despite the putty mess. I added some elastic for the bow string, (I KNOW it's not functional, as a stranger pointed out to me LOL - well, in fact it IS! It's functioning as a prop for a costume 😌) anyway, the end result looks fabulous!


Comments
Post a Comment