Vintage Brooch Napkin Holders
I love vintage rhinestone brooches, but not necessary for wearing; they can give mixed-media art a powerful ZING!
Next, file any metal burrs left behind from the snipped clasp. You may be able to skip this step as you may not have any, or they may be hidden after gluing the brooch to the actual napkin ring.
Here, I've made napkin tongs, but brooches would convert easily into shower curtain rings as well!
Difficulty: Easy
Supplies you'll need:
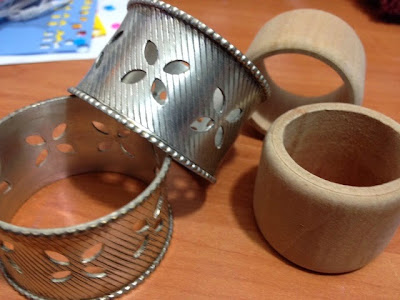
1) wood, plastic or metal napkin rings (easily found at second-hand stores brand new in pack of 6)
2) brooches - one for each napkin ring
3) E6000
Tools you'll need:
1) cutting pliers
2) file to file burrs on brooch after cutting
Begin by snipping off the pin or clasp.
 |
| Snipping off the clasp |
Set your brooch against the napkin ring and take a peek where your contact points are. Since the brooch is likely domed, and the rings likely curved, your contact points will be minimal. (NOTE: Do not simply glob glue over the back of the brooch. Not only will waste glue, but excessive glue will become a mess potentially ruining your project. Additionally, do not risk breaking the brooch by forcing it flatter to create more contact surface.)
 |
| Notice just off center is the brooch where the clasp was originally attached. On both sides, there is no contact points to the wood below. |
Apply the E6000 to the approximate contact points and gently set the brooch in place. Set aside to dry, making certain at this time to stabilize the ring from rolling.
After the glue has set, a few hours, your new napkin holders are ready!


Comments
Post a Comment